Understanding the Users Page: A Comprehensive Guide
Introduction:
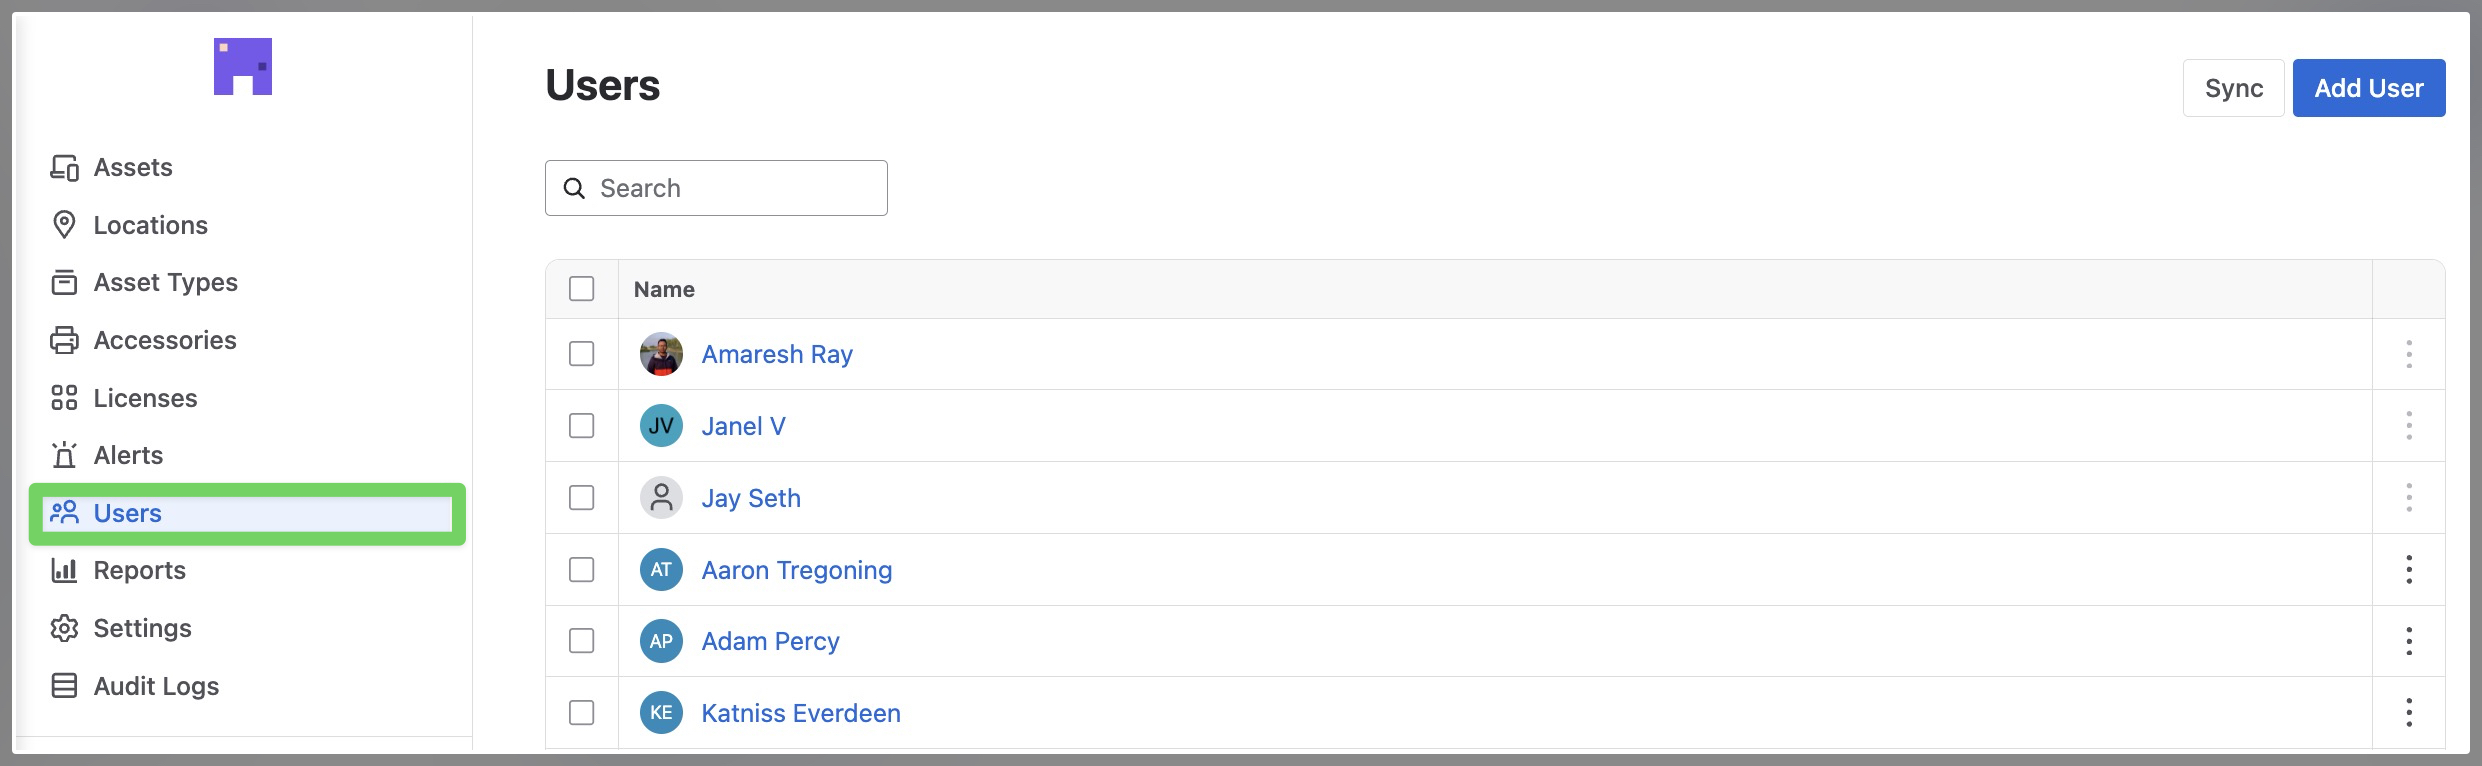
The Users page is an important feature within our system, serving as a centralized hub where user-related information is conveniently accessible.
This page displays both Jira users, synchronized from your Jira instance, and manually created users within your organization.
‼️To sync your Atlassian users please click the Sync button in the top right corner‼️
Key Features:
-
Sync Jira Users:
Upon accessing the Users page, you are presented with a list of both Jira and locally created users.
To ensure the accuracy of this list please sync your users regularly by clicking the Sync button.
-
✨New User Profile:
Each user’s name is clickable, opening their User Profile where you can view user details as well as assigned assets, accessories, and licenses in dedicated tabs.
2.1 Create, Edit, and Manage User Profile Details:
From the User Profile page, you can add and update user details directly using inline editing. Simply click into a field to add or update information such as phone number, location, department, manager, or email.
To track additional details, click + Add Field to create custom fields like start date or alternate email.
To Delete simple click the "Delete" button.
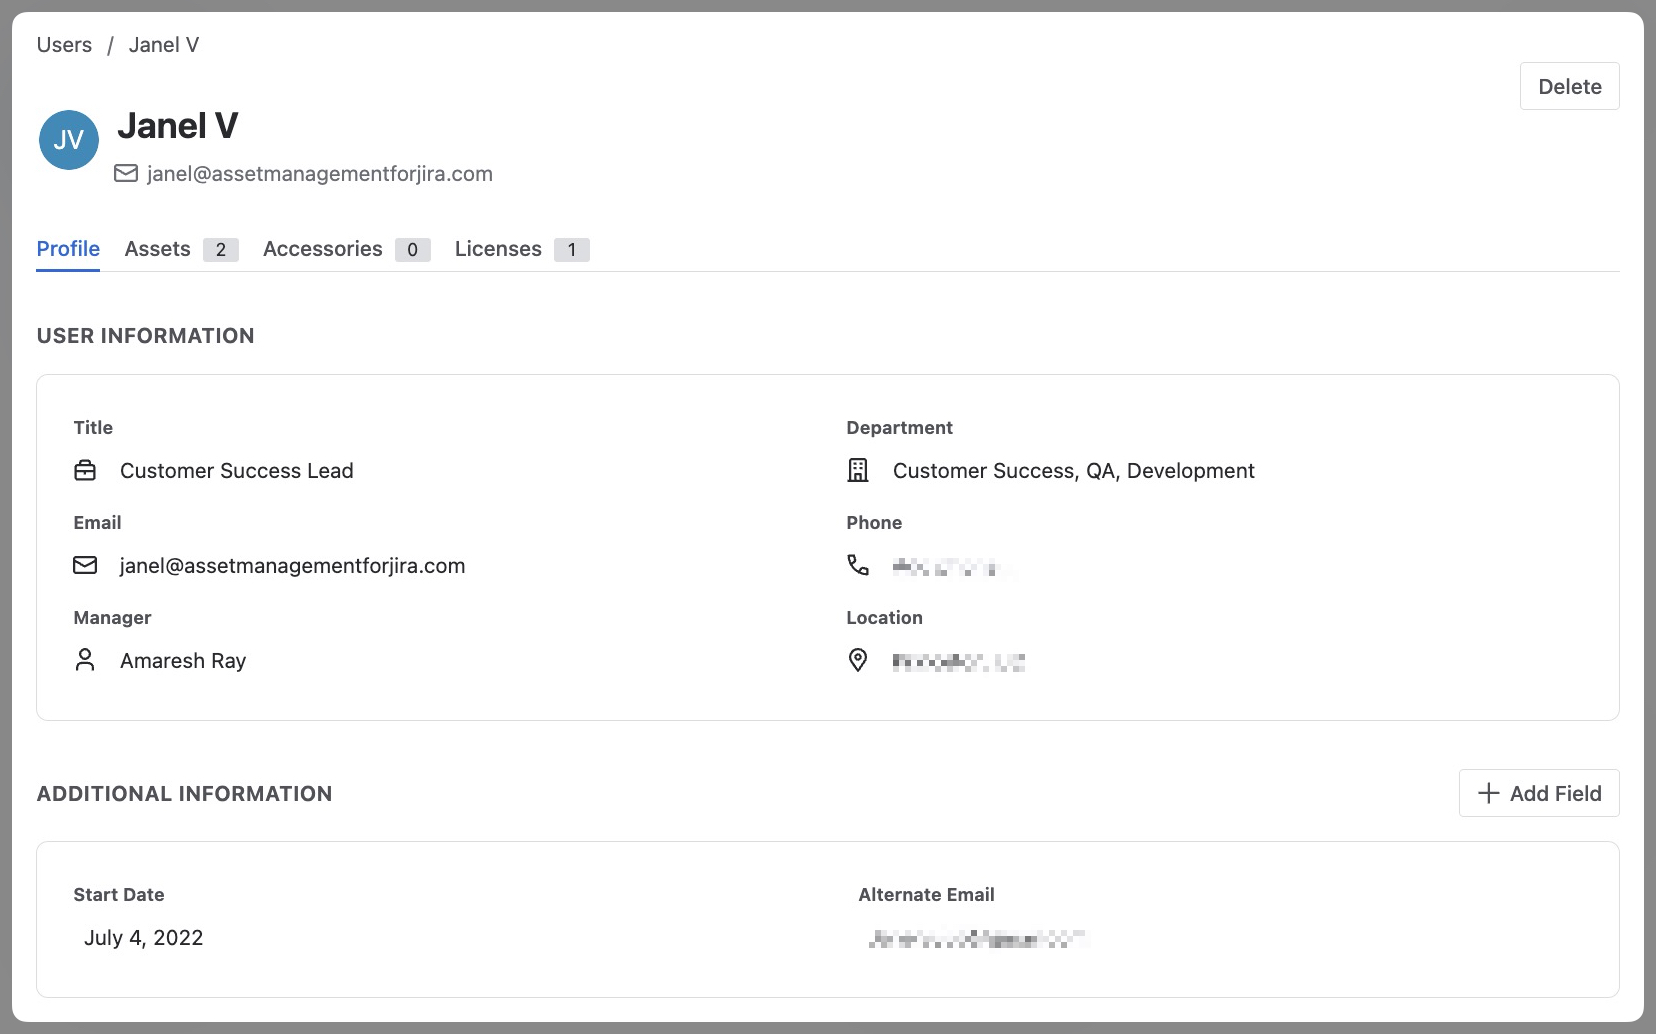
⚠️ Users managed by Jira cannot be deleted from AMFJ ⚠️
-
Filter and Search:
You can sort the list of users alphabetically in ascending or descending order. Additionally, utilize the search bar to quickly locate specific individuals by name or groups of individuals sharing common letters.
-
Importing:
When importing assets, make sure the format of your Atlassian/Jira users in your spreadsheet matches the format in the Users list. If it doesn’t, a new local AMFJ user will be created.

Please do not hesitate to reach out to our support team at support@assetmanagementforjira.com if you have any questions or feedback related to this article.